Hello everyone, Happy Chinese New Year! It has been a really long time since my last post. And how have you been?
I have been receiving many RFQs about round and ring LED backlights recently, and I want to find a chance to explain how we make them. I will make everything very clear, so everyone can understand it.
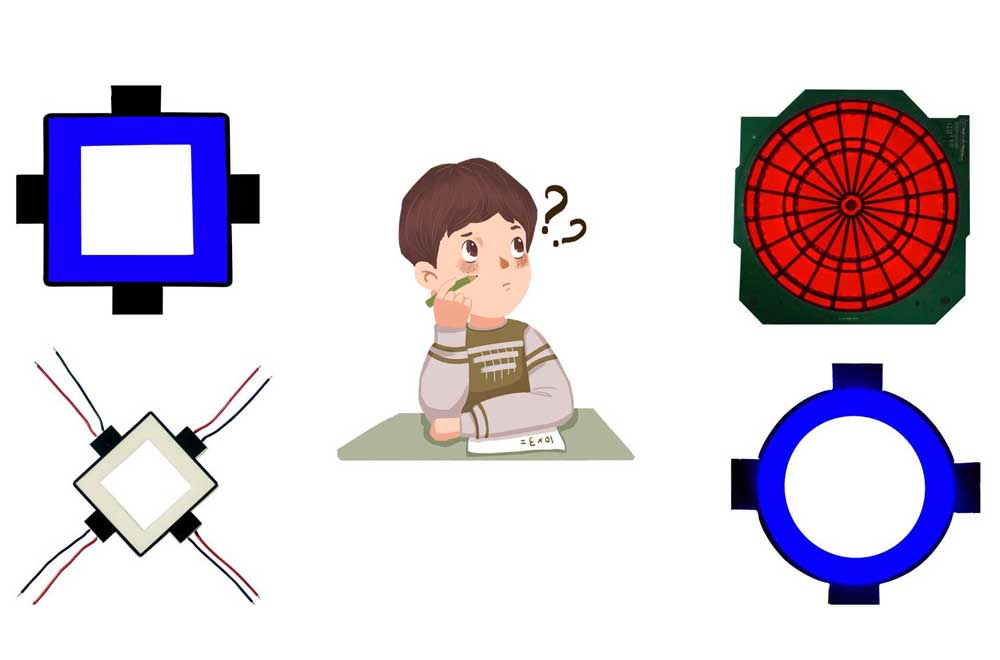
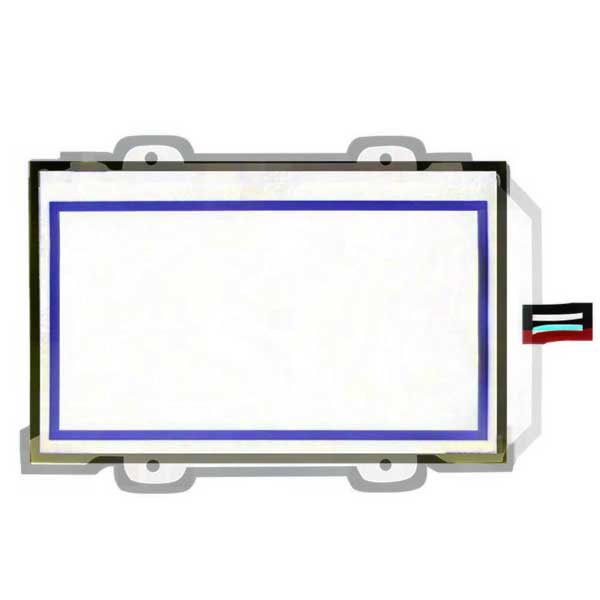
This is a typical LED backlight.
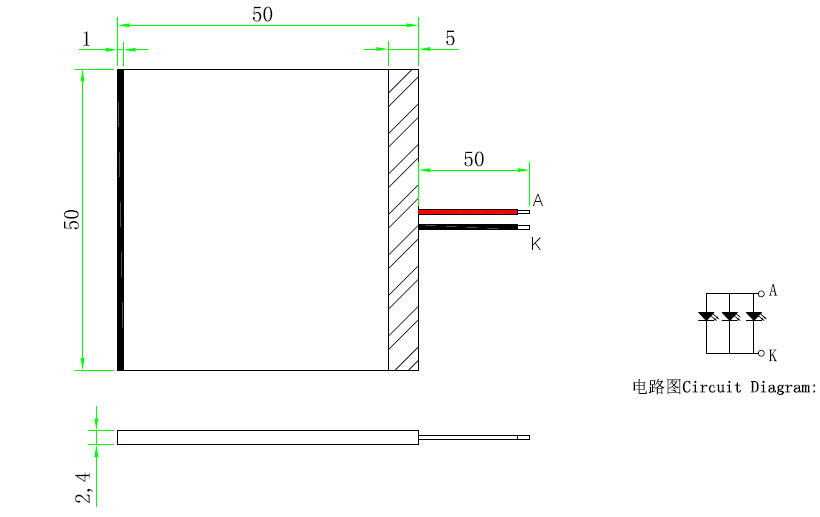
5 mm light shade area, exterior size 5050 mm, view area 4450 mm, 2.0 mm light guide plate and the total thickness of LED backlight is 2.4 mm.
3 pieces of SMD LEDs are parallelly connected and the driving voltage is 3.0 v.
Ps: what is a light shade area? Usually, it is the position we install LED lamps. We have to put a black film at the top because it is super bright and it creates a light spot.
How do we make a round or ring LED backlight? In my opinion, there are two options.
Option A:
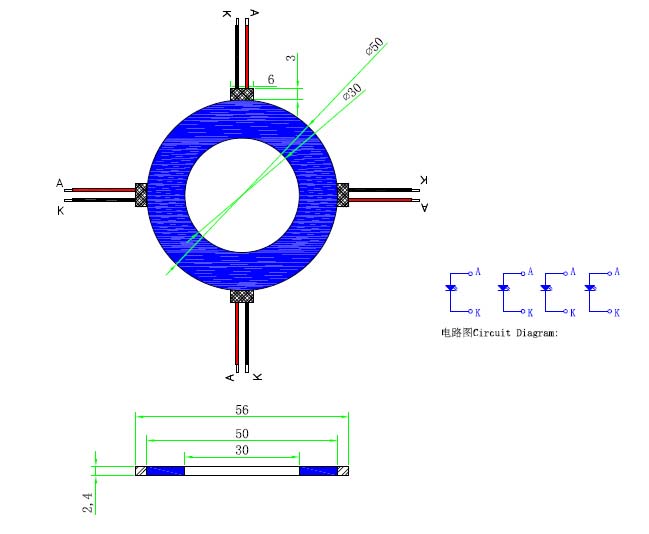
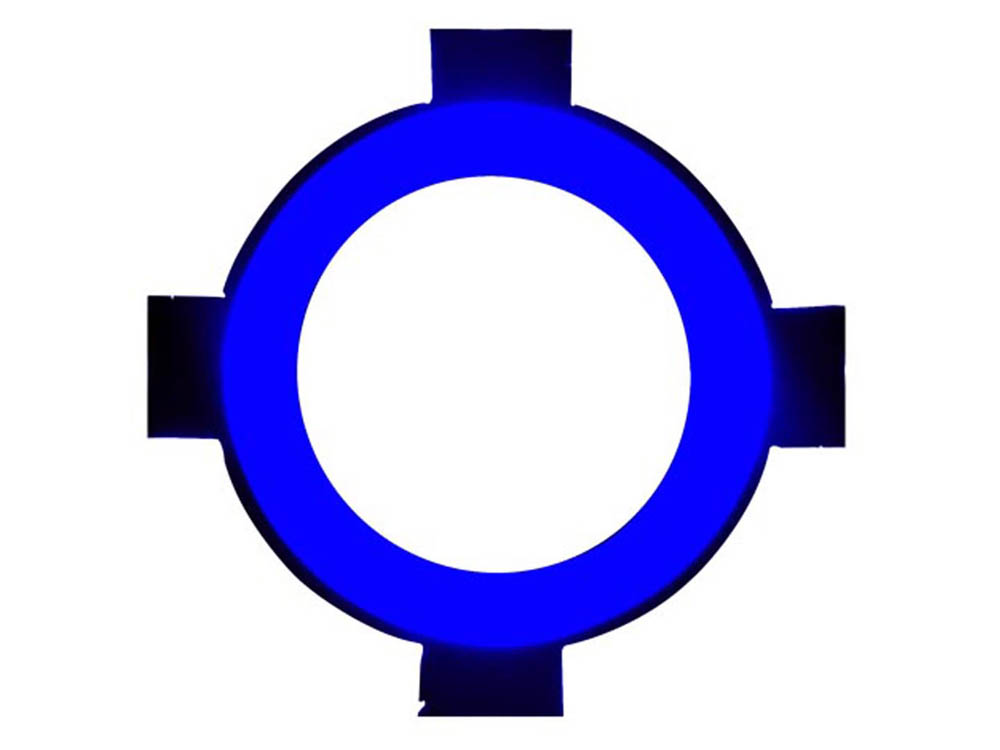
It is a blue ring LED backlight, there is a hole in the middle, 3 mm light shade area. 4 SMD LEDs in the 4 corners: 12 o’clock, 3 o’clock, 6 o’clock and 9 o’clock position. We use 2.0 mm light guide plate and the total thickness of LED backlight is 2.4 mm. The view area looks like a ring, but the defect of this design is obvious that there are 4 redundant light shade areas. It does not look very round. The advantage of this design is that we can use the existing PCB no matter what the sizes it may be.
Is there another way to make it look more round? Yes, there is. Please see option B and the picture below.
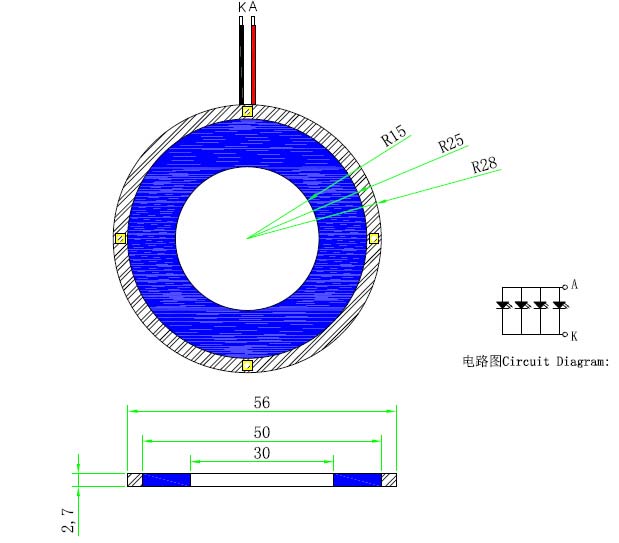
It looks exactly like a ring with two wires. 3 mm light shade area and 10 mm active area (illumination area). 4 SMD LEDs are parallelly connected. We use 1.5 mm light guide plate, 0.8 mm PCB and 0.2 mm diffusion film to make this LED backlight, so the total thickness is about 2.7 ~ 2.8 mm. The disadvantage of this design is that if we change the size, we have to make a new dedicated PCB.
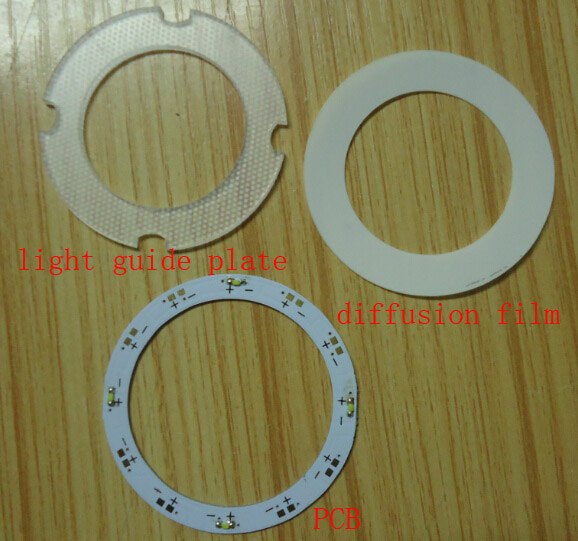
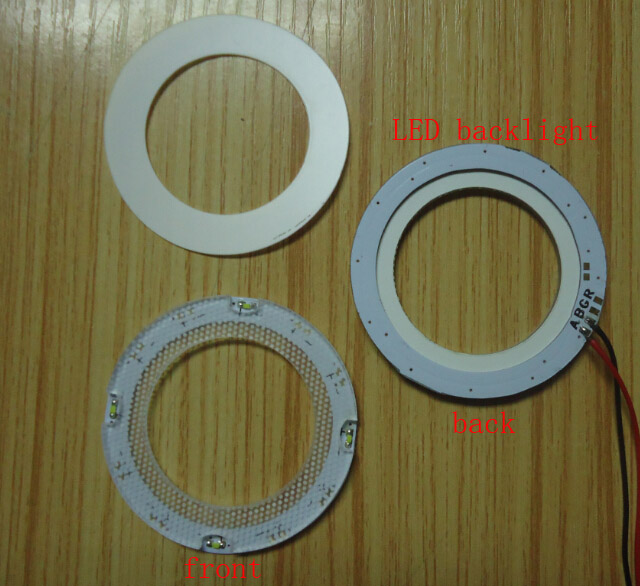


Now let me compare these two options.
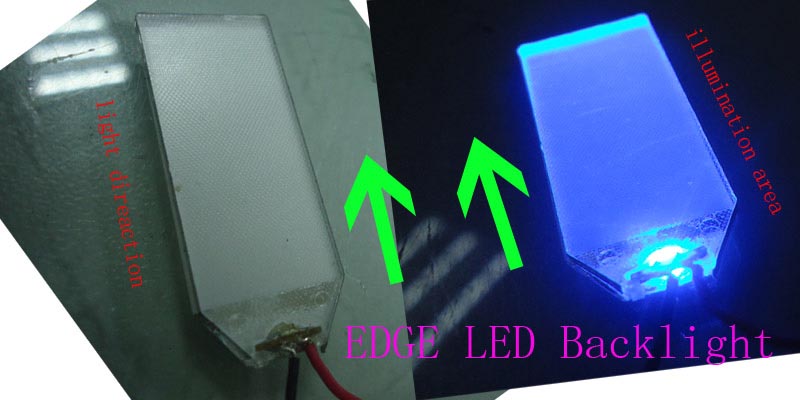
1. Option A is an edge LED backlight and option B is a bottom LED backlight. Please see my post: The comparison of bottom LED backlight and edge LED backlight
The light use efficiency of option A is better than the light use efficiency of option B because light direction of option A is the same as the illumination area.
The bigger the ring or round LED backlight is, the more LED lamps that option B needs to reach the same brightness as option A.
2. Option A has 4 anodes and 4 cathodes and option B only has one anode and one cathode. It is difficult to connect the anodes or the cathodes if we choose option A.
3. What if there are more colors in the LED backlight? Let me see what will happen.
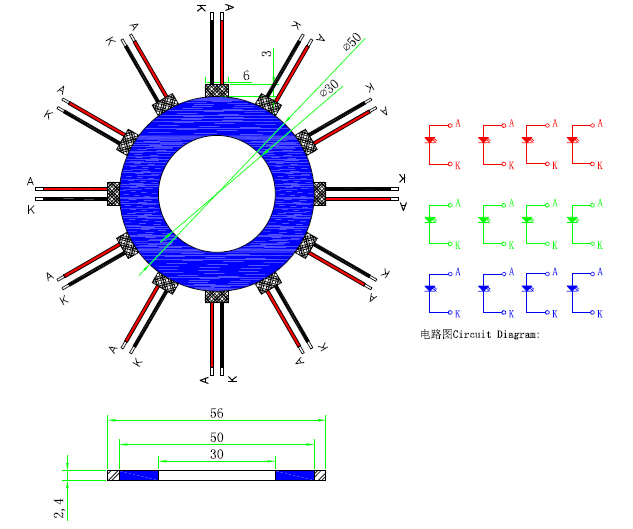
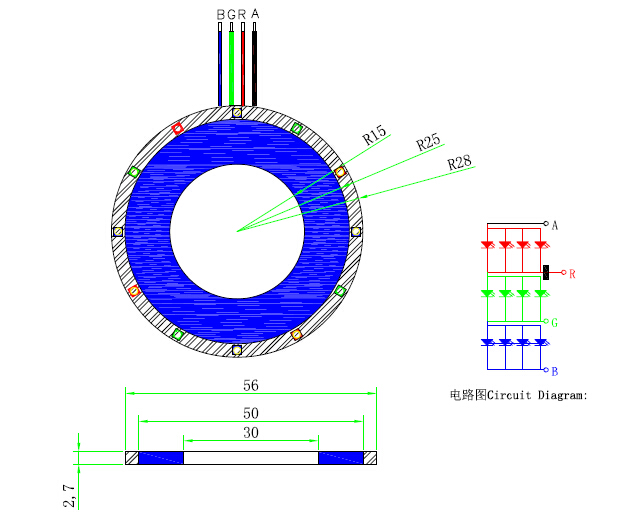
Now we can see that option A is not the best solution when there are multicolor in one LED backlight because it has too many anodes and cathodes. Meanwhile, option B is the perfect solution for multicolor situation. It only has one anode and 3 cathodes( Red, Green, and Blue). What if you want 10 colors or 20 colors? It’s easier to do than to say.
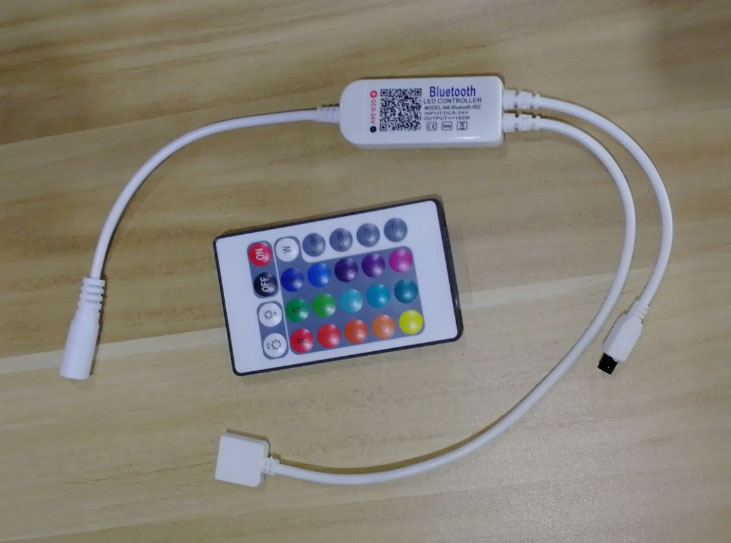
Through this color control module, you can have many colors as you want. And you can change the color with the remote. If you want to know more about how LED color changes, please see my post: LED Backlight Color Production Theory
You are welcome to comment if you have any questions. Thanks.

